Scanning negatives with a digital camera
A macro lens, a cheap light panel and a film holder made from mount board. The setup that replaced my flatbed, and the mistakes I made on the way.
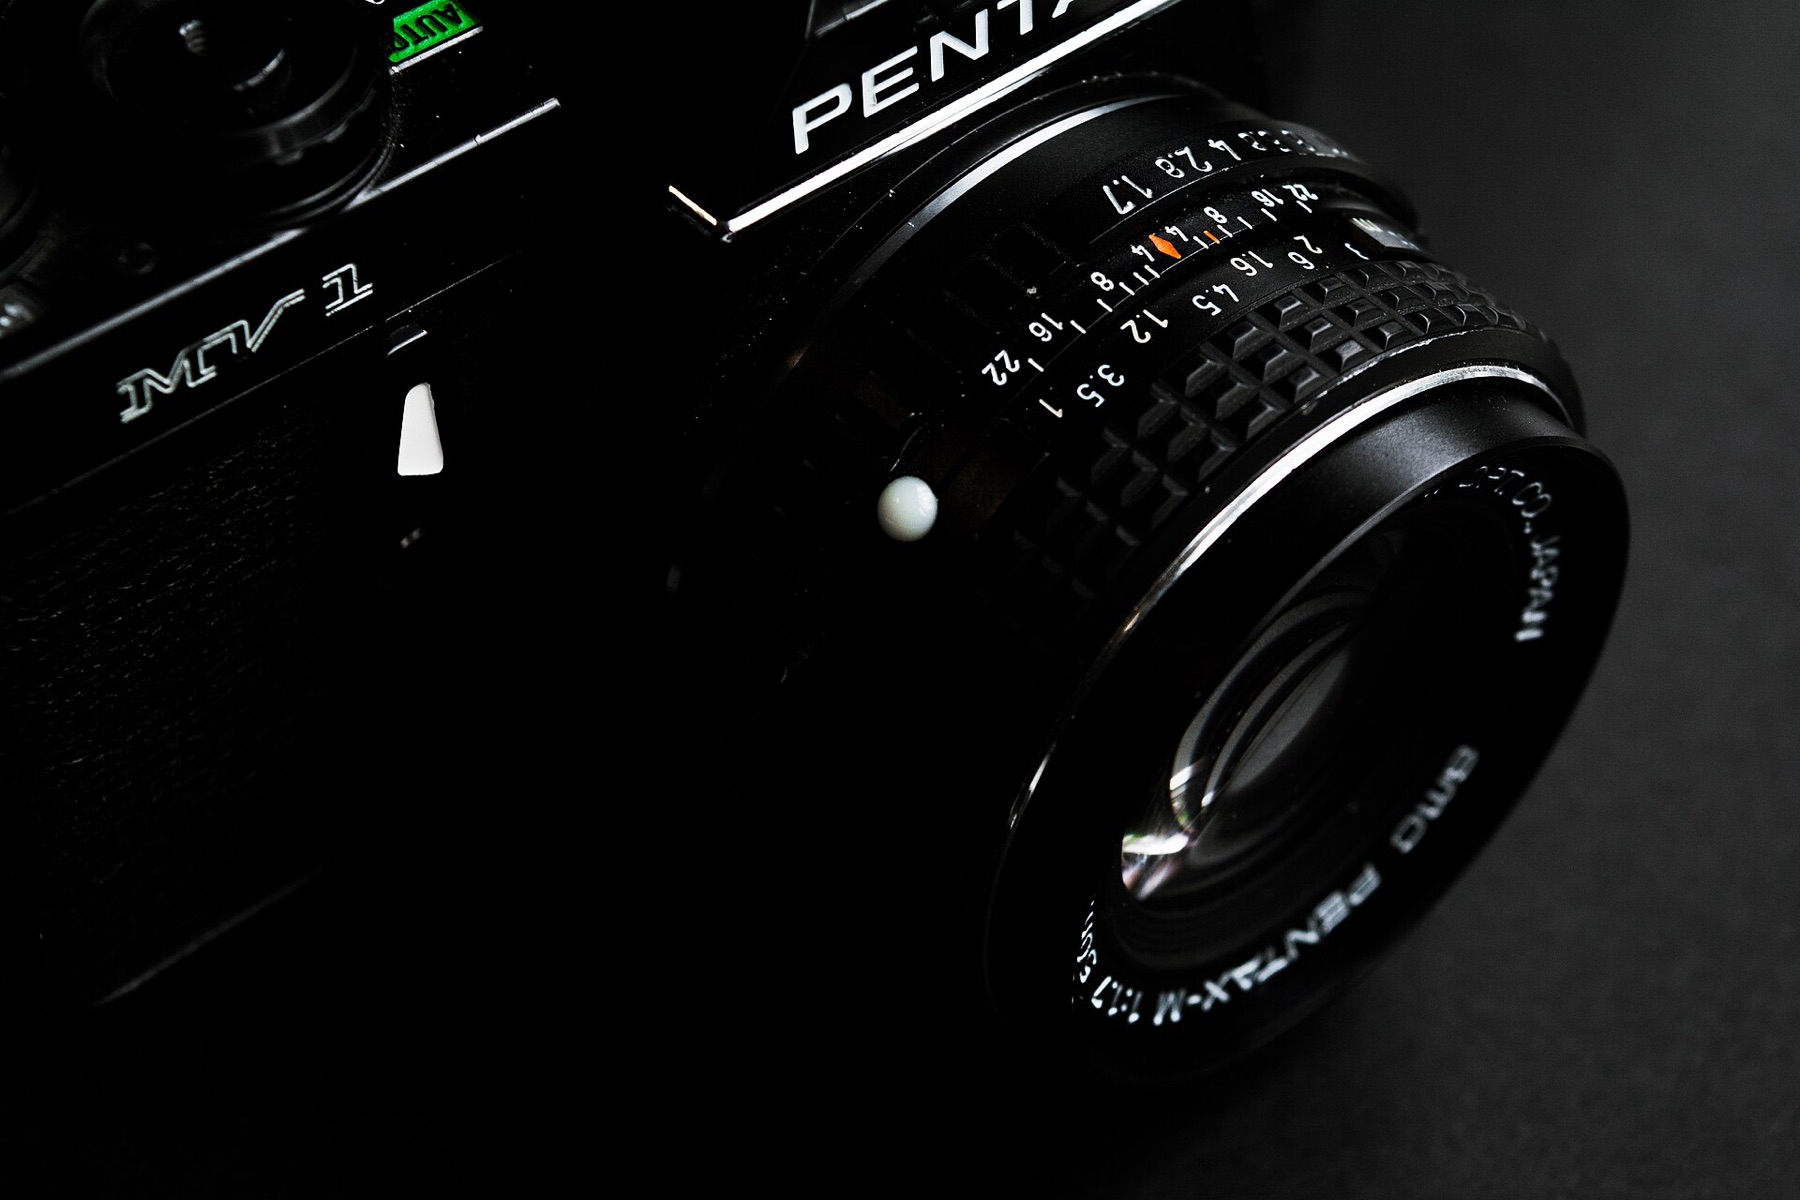
My flatbed took four minutes per frame and still missed focus at the edges, because the film holders let the negatives curl. A digital camera on a copy stand does the same frame in a second, and the results are sharper. It took me a month of evenings to get there, mostly because of mistakes that are obvious in hindsight.
The setup
- A copy stand made from an old enlarger column with the head removed. Any rigid tripod that can point straight down will do.
- A macro lens that focuses to 1:1, so a 35mm frame fills the sensor.
- A small LED light panel with high colour rendering, bought for a different hobby.
- A film holder cut from black mount board: two layers with a frame-sized window and a channel the strip slides along.
The most important thing is that the film and the sensor are parallel. I put a small mirror flat on the light panel, look through the camera, and adjust until the lens sees its own reflection exactly in the centre of the frame. When it does, everything is level.
Mistakes I made
Stray light. The light panel is bigger than the negative, and light from around the frame bounced off the lens and lowered contrast. Masking everything around the frame with black card made the blacks deep again.
Autofocus. It hunted on thin negatives and occasionally focused on the dust on the film surface. Now I focus manually at full magnification on the grain itself. When the grain is crisp, the picture is.
JPEGs. For a month I shot JPEG and inverted those, and the shadows looked blocked and posterised. A raw file has much more room in the tones that matter, which in a negative are the bright, dense areas. Switching to raw fixed it overnight.
Exposure for scanning
I expose so the brightest part of the light panel, seen through the clear film edge, is just below clipping. Everything in the negative is denser than that, so nothing clips. Then I invert in software, set the black and white points from the film edges, and adjust the curve by eye.
Thirty-six frames take about fifteen minutes now, including dusting with a blower. The flatbed has gone to a friend who scans documents.
— Elin, 21 June 2026